FOUNDATION
Early History of Photography
- A 'Camera Obscura' is a dark room/space where an inverted image is projected on to a surface, whereas a 'Camera Lucida' is a portable optical device which allows you to trace the image you see.

Camera Obscura
|

Camera Lucida
|
- A 'daguerreotype' is a type of photograph which is laterally reversed and monochromatic, printed on to a metal plate. However, a 'calotype' photograph can be reproduced as a negative, whereas the 'daguerreotype' is unduplicatable.

Daguerreotype
|
Calotype
|
Brief History of Early Photography:
 'View from His Window at Le Gras', Joseph Niépce, 1827
In the 16th Century, during the Renaissance period, more artists became interested in representing the reality of nature, and wanted to explore this through new mediums. This led to the development of new instruments to allow these artists to achieve the perfect perspective. These instruments included the 'Camera Obscura' and the 'Camera Lucida', which, although were different, both allowed a projected image to be traced, offering artists new technology to create with. Scientists began to desire the possibility to reproduce reality, but in a fixed format. The change in society during the 1800s as a result of the industrial revolution also inspired people to make this possible as mass production was leading people forward.
Success was found first in fixing a projected image by the scientist 'Joseph Niépce' in 1827. Soon after this was achieved, a man named 'Louis Daguerre' (a painter of stage sets for 'The Diorama', a popular visual attraction in Paris) began to work with Niépce in the journey to fix a projected image. Daguerre created the 'Daguerrotype', a photograph that was printed on to a metal plate, in 1839. However, during this time, an English scientist named 'William Henry Fox Talbot' had developed another type of photograph, the 'Calotype'. It had a significant advantage over the Daguerrotype as it could be reproduced as a negative. This led to the Calotype being far superior in terms of mass production, but it lacked quality and sharpness, which was why many people opposed it in the early years. However, the Calotype was improved, and better processing could be achieved due to advances in paper technology. It is still the most popular type of photography used today.
When photography was first being developed in the early years, many photographers were worried that the medium would only be used for documentation, so continued to focus on fine art themes including 'portraiture' and 'landscape'. However, this changed over time as photographers began to create their own identity, separate to those of contemporary artists.

'Bridge and Boats on the Thames', Jean Baptiste Louis Gros, 1851
|

'Still Life with Deer and Wildfowl', Adolphe Braun, 1865
|
Camera Obscura

|
Here are photos of the Camera Obscura I made in class. It is made out of cardboard and tracing paper. I created a box with one side open out of the cardboard and then stuck a sheet of tracing paper in through the open side (see photos). I then slit a hole in to the side opposite the tracing paper and stuck a lens over it. To see where the best place to put the tracing paper was, I moved it around inside the box to see what gave the best image when holding it up to light.
|


Photograms
Below are the photograms I made in the dark room. Photograms are pictures produced using photographic materials e.g. light-sensitive paper, without a camera. I placed light-sensitive paper under an enlarger and placed different objects on top of it. Then, I exposed the paper to white light for 1 second, using the enlarger. This cast deep and translucent shadows on to the light-sensitive paper. I then soaked the paper in 3 different chemicals, 'develop' for 2 minutes, 'stop' for 1 minute and 'fix' for 3 minutes. After doing this, I then soaked the paper in water and dried it in a print dryer (?).
After doing test runs, I found that setting the length of exposure on the enlarger to 1 second gave me the best results. I also changed the aperture of the lens so that the amount of light being released fit to the size of the light-sensitive paper. I then focused the light so that I could get the best results with my photograms by turning one of the levers on the enlarger until it was best focused.
After doing test runs, I found that setting the length of exposure on the enlarger to 1 second gave me the best results. I also changed the aperture of the lens so that the amount of light being released fit to the size of the light-sensitive paper. I then focused the light so that I could get the best results with my photograms by turning one of the levers on the enlarger until it was best focused.

|


|

Man Ray
 Rayograph Rayograph
Man Ray was an artist in the 20th Century who created his own 'rayographs' by placing objects on top of photosensitized paper and exposing it to light. These images immediately put him on par with the avant-garde painters of the day. His rayographs revealed new ways of seeing, which inspired many Surrealist writers and painters.
|

Rayograph
|
Old Family Photograph

|
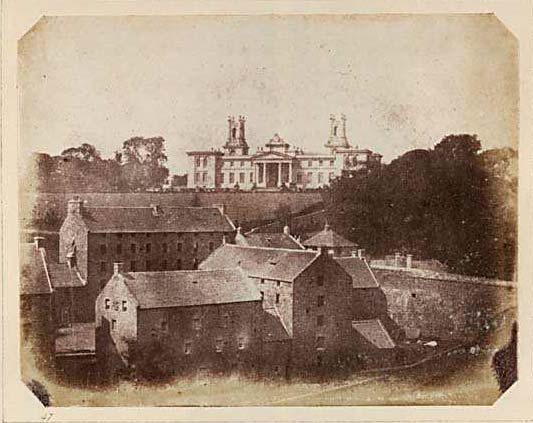
On the left is one of my old family photos. As we can see at the bottom it was taken in 1917, making it nearly 100 years old. The man on the far left is my great great grandfather. He was injured during the First World War so was sent to 'The Crescent War Hospital'. We can tell that this an old photo due to the layout of it. It's a very straight angle with everyone orderly positioned in front of the camera outside the hospital.
|
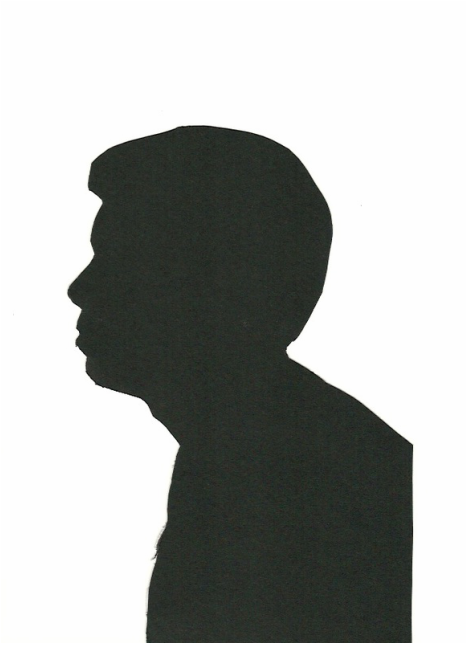
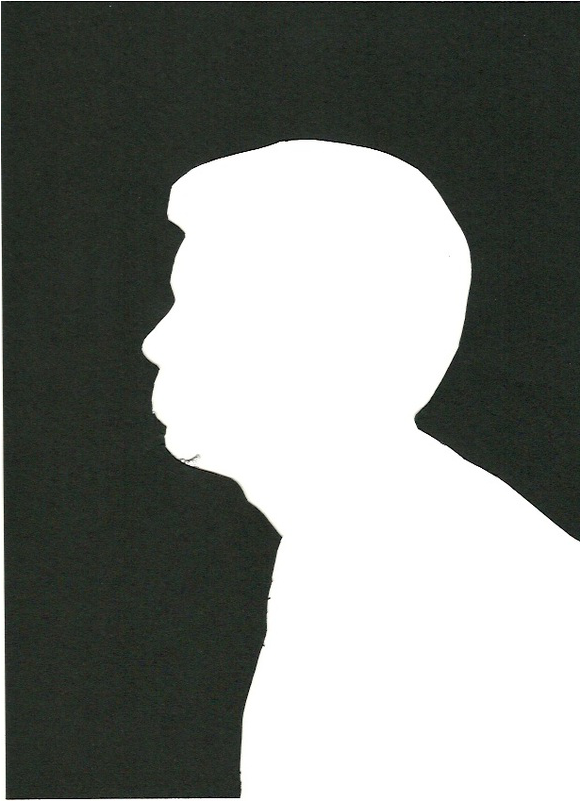
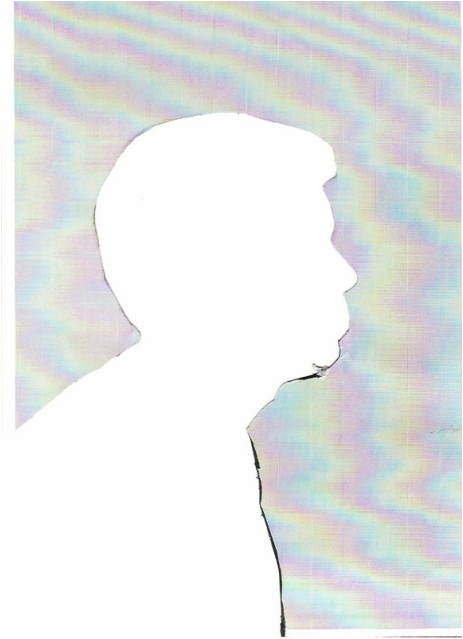
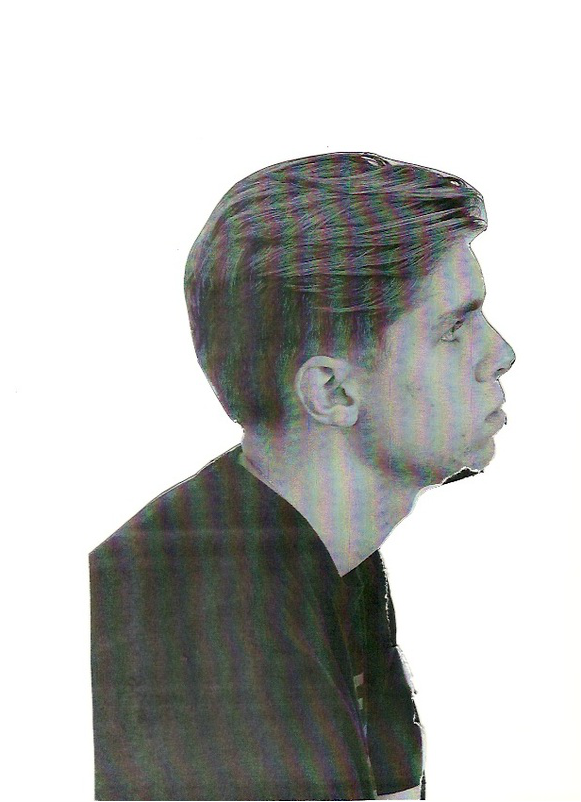
Side Profile Photogram
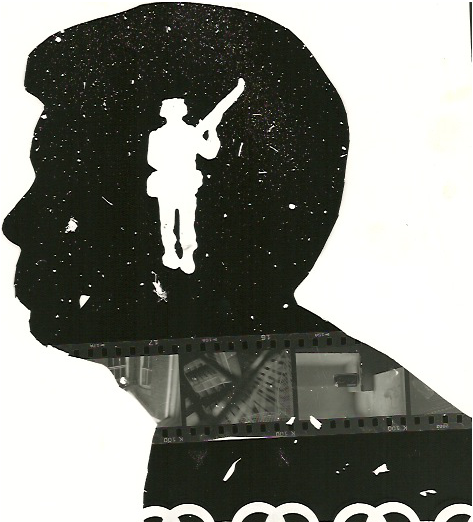
Above is a photogram I made in the dark room, similar to my previous ones. However, this time I used a template of my side profile to create an interesting unique image. To achieve this I printed out a photo taken of my side profile and stuck it on to black card. Then I cut out my body, leaving two pieces of card, one of myself, and one with just the background (see below). For the photogram above, I used the template on the right below. I placed it over light-sensitive paper under an enlarger in the dark room, allowing only the shape of my side profile to be exposed. I then placed objects on top of the part of paper including a strip of film, a necklace, a toy soldier and grains of dirt (see above). When exposing the paper to light and soaking it in the chemicals 'develop', 'stop' and 'fix' (the same process as my previous photograms) then end result was a unique side profile portrait of myself.
|
|
|
|
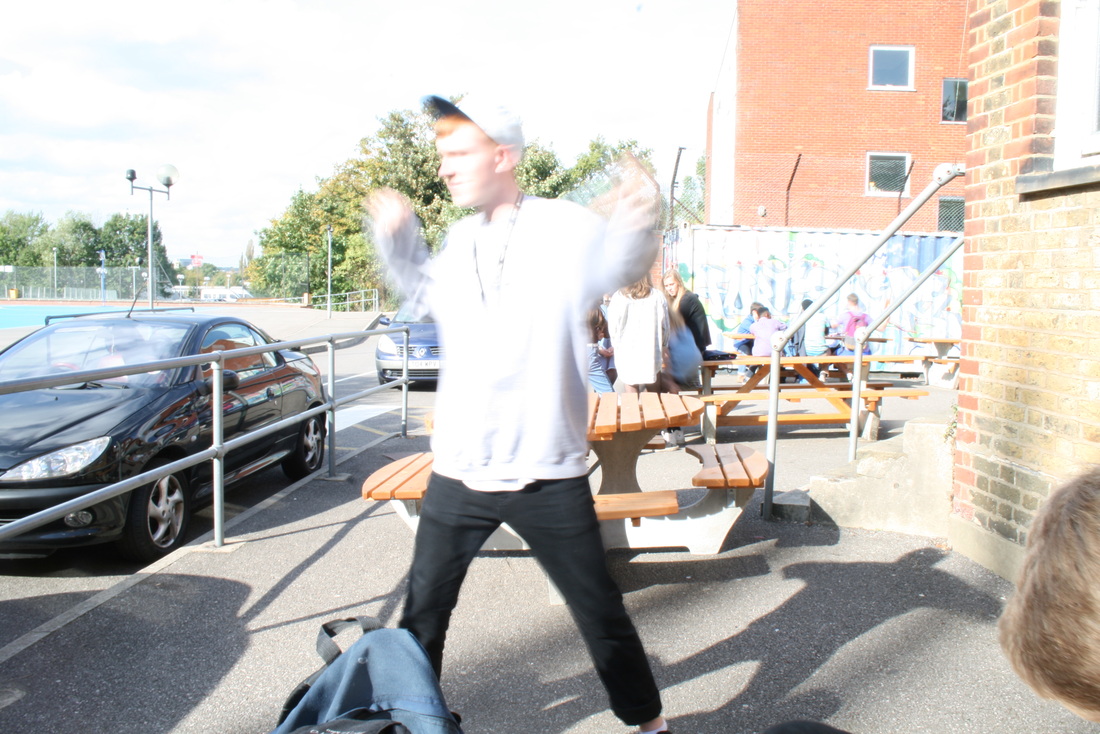
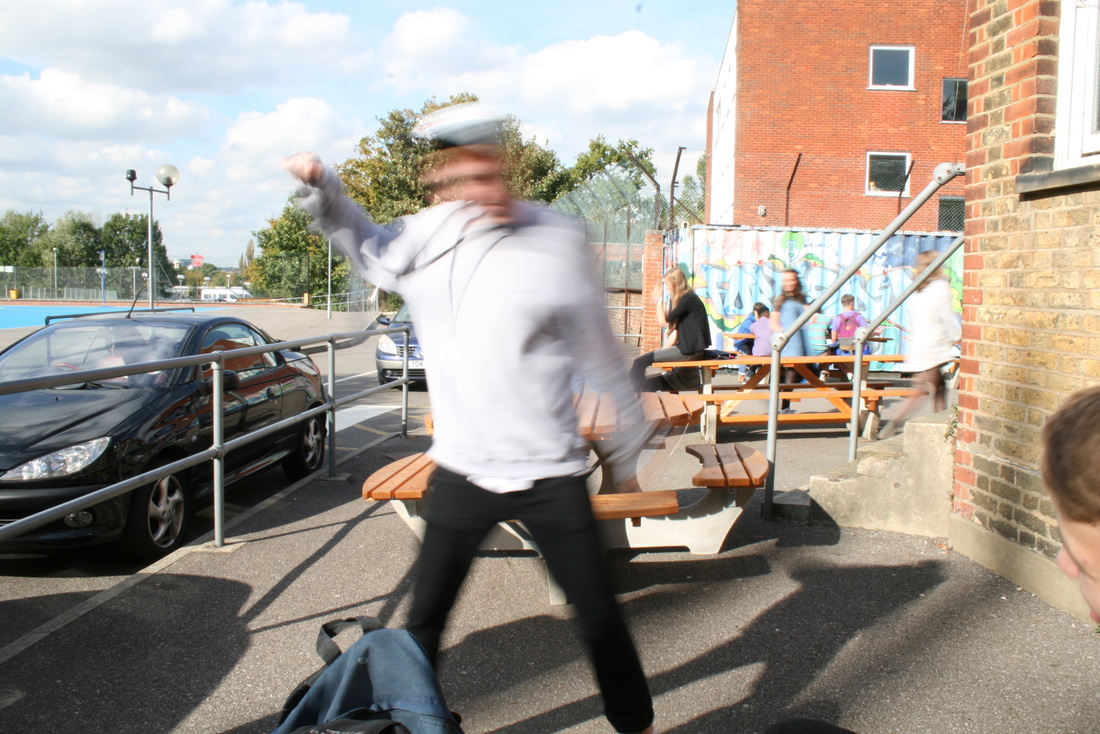
Shutter Speed
|
|
|
|

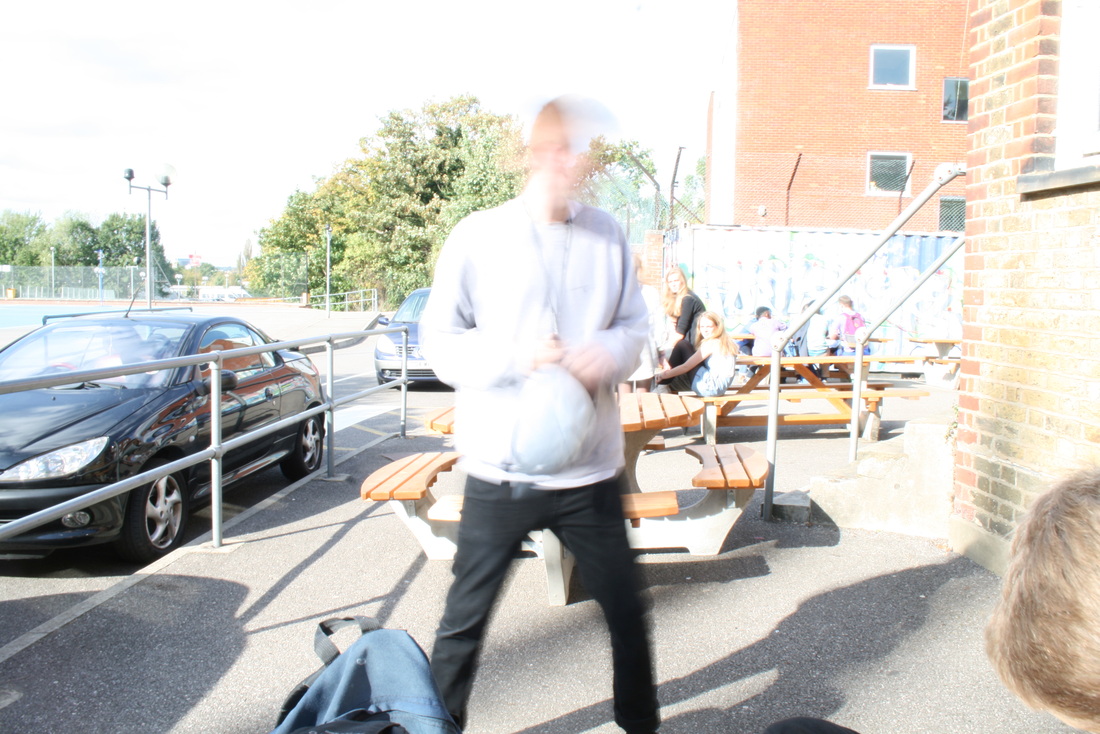
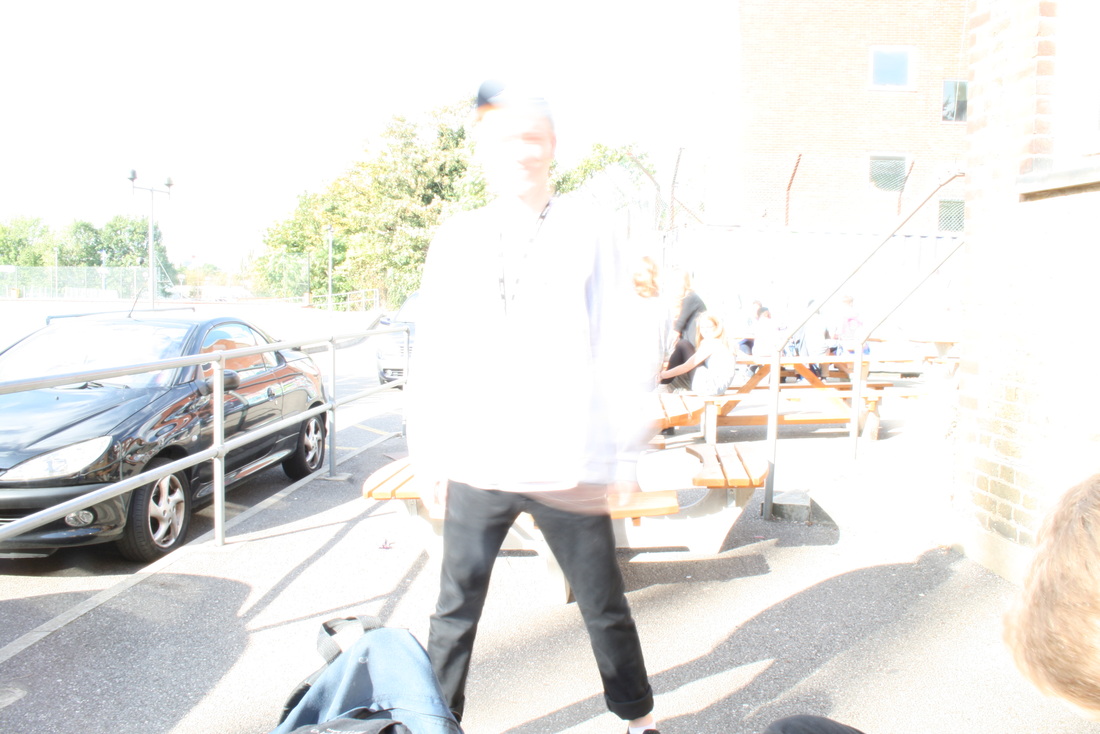
Above our photos that I took using different shutter speed settings on my SLR camera. From left to right (going down), these photos go from a longer shutter speed to a shorter one. I found that using a shorter speed produced a better image as it allowed the background to be in more focus, and the lighting looked more natural. Whilst a longer speed produced a more blurred image, it also produced an overexposed image as my camera could not cope with the amount of light that was being let in, and did not look as interesting as using a shorter speed.
Aperture


Each photo above was taken using a different aperture setting (going from low to high from left to right). As you can see, the depth of field increases as the aperture increases. This allows more objects to be focused and get a better definition of the background. Personally, in this type of photograph, I prefer images where a lower aperture is used as it enhances the definition and focus of the main subject. It also blurs the background, creating an almost unnatural effect.
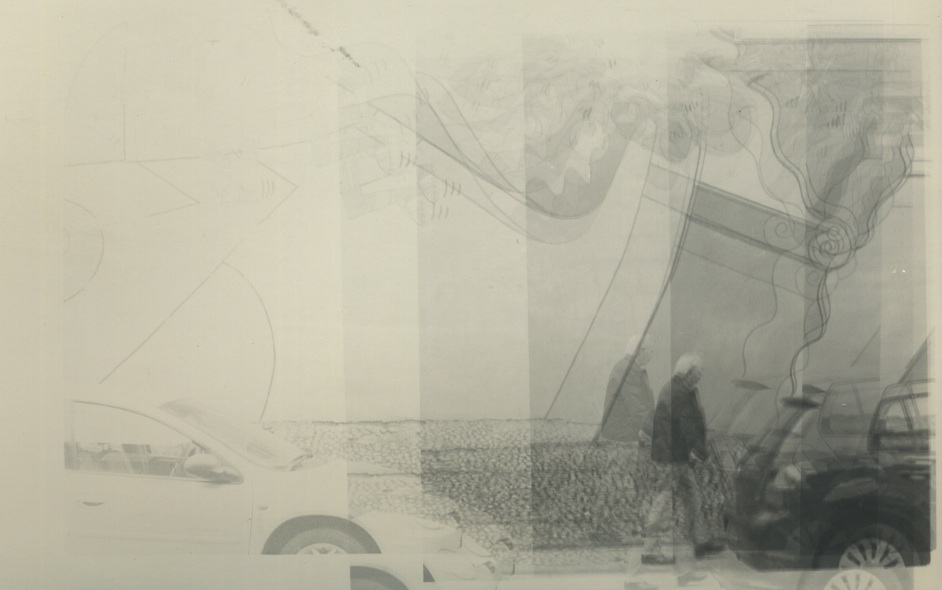
Film Camera Photos
Below is a series of photographs me and a partner took using a film camera. We tested out different shutter speed and aperture settings. The photos below were the ones that came out with the best image quality, mainly when the camera was set around the middle settings with both shutter speed and aperture. As you can see from the picture directly below, we produced a test strip in the dark room to see how long we should expose the light sensitive paper for (using an enlarger). Each section has a 3 second gap inbetween, and we found that exposing the paper to 21 seconds produced the best looking image.
Test Strip
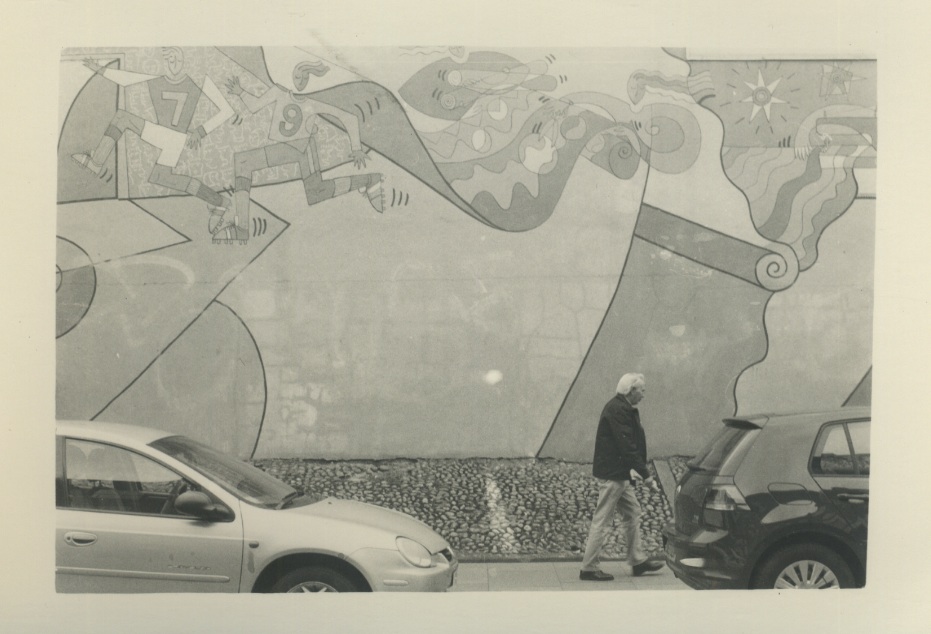
Finsbury Park Mural
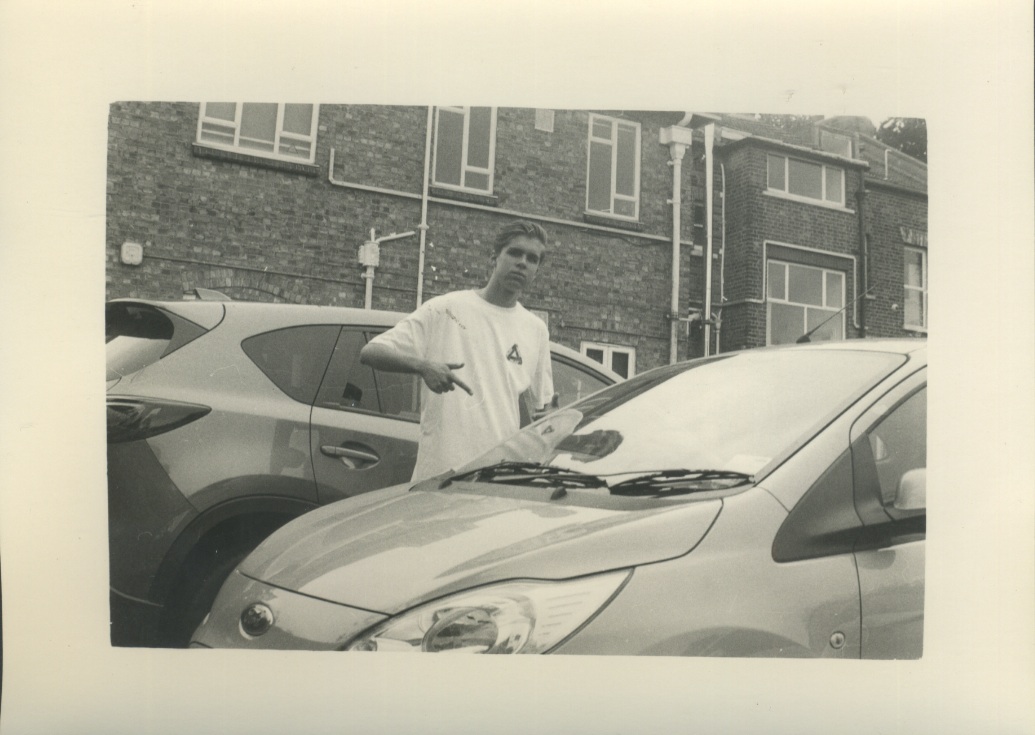
Me with Car
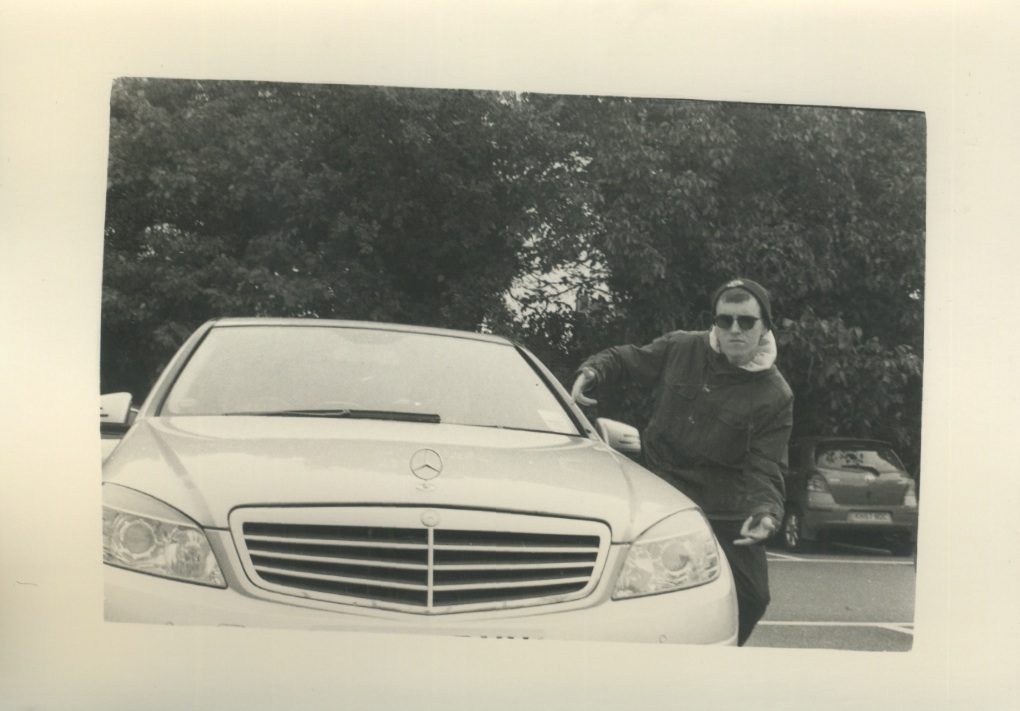
Sam with Car
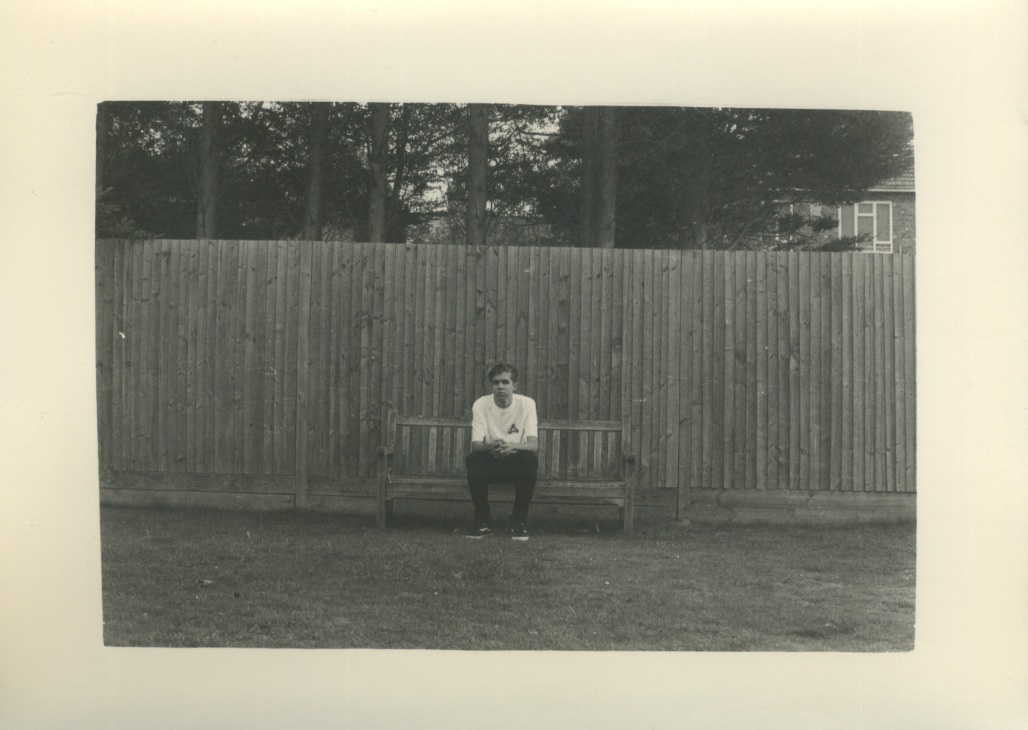
Me on Bench
